I know I’m not the only one who’s caught herself thinking “they just don’t make ’em like they used to”… But the sad fact is, this is just TRUE. Cheap plastic has replaced metal, fibre board has replaced real wood, and when it comes to so many things this means that it can actually be cheaper to replace things than it would be to fix them. But the real problem here is what that means for our environment. Even though many things can be recycled nowadays, I think it’s important to consider slowing this cycle first by being able to repair the little things and to save money by prolonging the lifespan of our consumer goods.
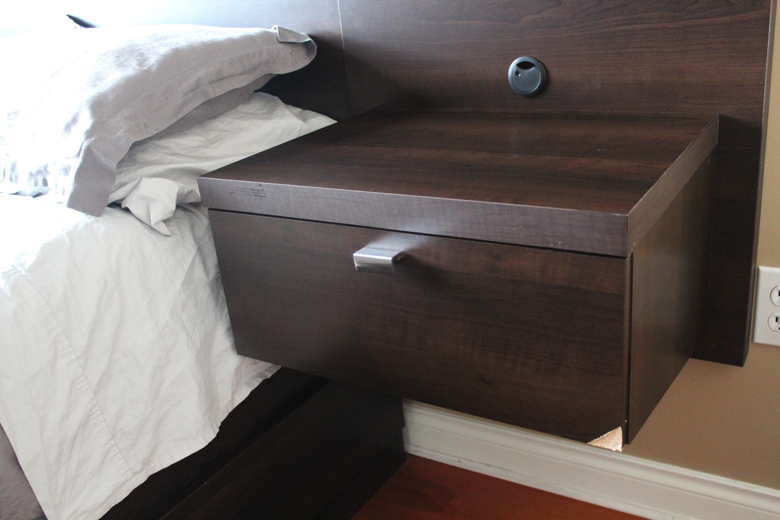
I just recently ordered this bed frame/headboard online, and what I got when it arrived was a VERY cheaply made product. (I know, I should have just made one myself…) It didn’t take long before my two young and rambunctious boys did a number on one of the corners. This cheap material it’s made of is called “Certified Environmentally Preferred Laminated Particle Panels”, (whatever the heck “certified” environmentally preferred means… Sounds like a thin veil of greenwashing to me) Nonetheless it is still particleboard, which is what a LOT of furniture is made from nowadays. (Ikea anyone?) Although it’s definitely not built to last, it can be repaired fairly easily with just a little effort and some glue.
Some Facts About Particleboard:
- It is manufactured by mixing wood particles together with a resin and forming the mix into a sheet. Although the “particles” used in the process are largely composed of recycled material, the resin contains formaldehyde and other nasty stuff. *WEAR A PROPER DUST MASK IF YOU ARE BUILDING WITH IT!!*
- There are different variations, ranging from chipboard or particleboard to medium density fibreboard (MDF or medite) and hardboard
- It is a cheap alternative to plywood, and it is not made to last; if it is exposed to moisture it can swell and deform beyond repair
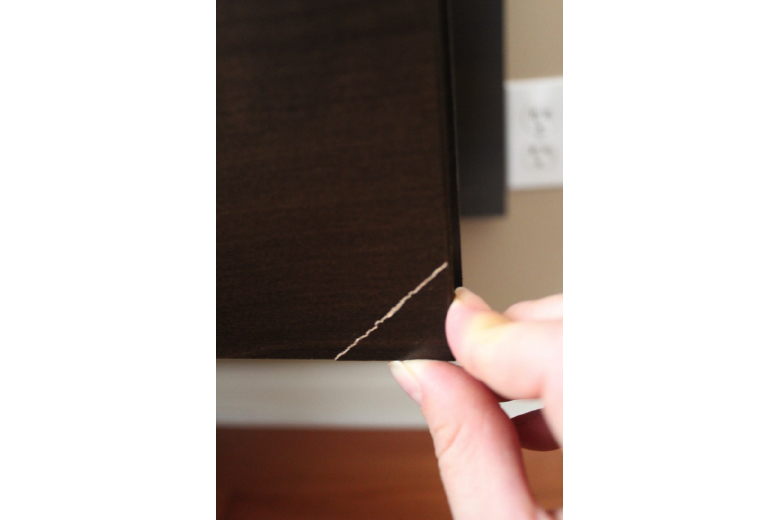
- Luckily, if the veneer (The thin layer of wood) is chipped or broken off and you save the piece, it can be made to look as good as *almost* new!
So Here is the Quick and Easy Repair Method:
STEP 1:
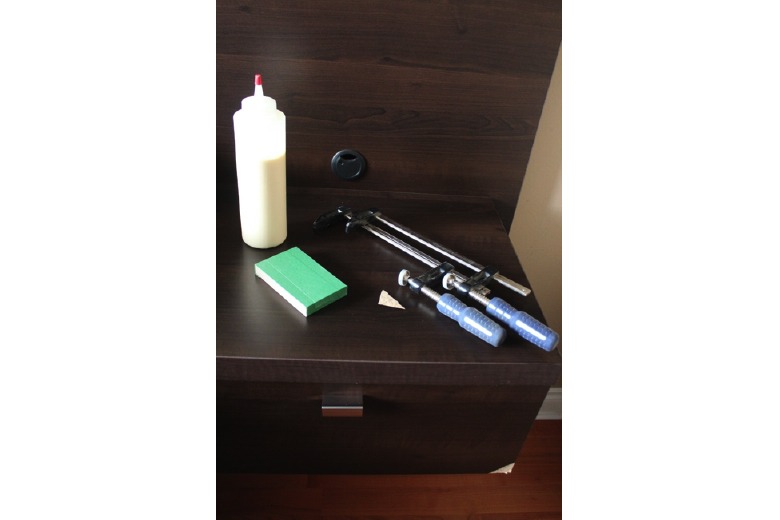
Gather the tools you will need. If you want to keep the job quick and easy you should avoid having to run around for what you need mid-repair!
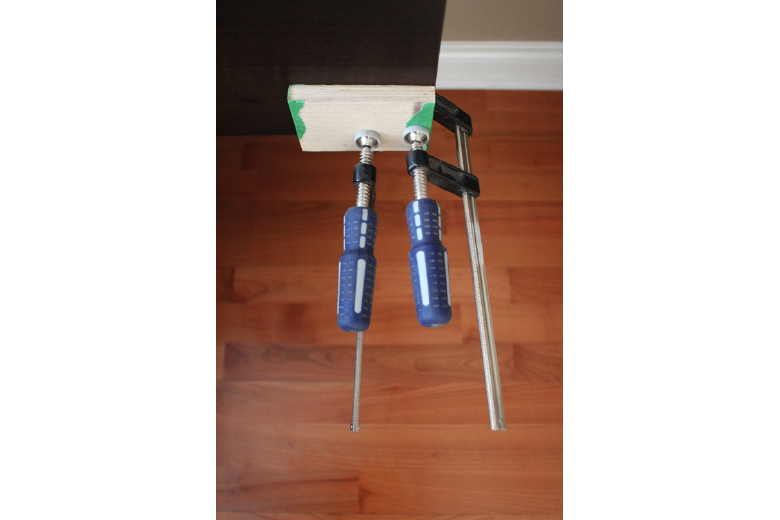
I have here the piece to be glued back on, some wood glue, 2 clamps and a block with painter’s tape on one side. I use this for clamping the piece and keeping it flat and flush with the rest of the face; the tape prevents it from becoming a new addition when the glue dries.
Also, not shown in the photo, I always keep a damp rag handy when doing glue-ups.
NINJA TIP: You can get away without using clamps to secure the pieces if they fit together nicely…
Simple tape is often used by carpenters to hold things together until the glue sets. I like to use painter’s tape because it has a little stretch to it and is designed not to damage different surfaces when removed.
STEP 2
Put the piece in place to ensure it fits. Loose fibers or other debris can prevent things from fitting back together properly, and a good fit is key to a good glue-up.
Remove anything in the way of a tight fit, and make sure the pieces to be glued together are nice and clean.
STEP 3
Apply glue to the part of both the pieces you want to glue together. The particleboard is quite absorbent, so don’t be shy here! Make sure the entire surface has glue on it, fit the pieces together and clamp them in place.
I used a block and 2 clamps here to ensure the surfaces would be flush, but as I mentioned in step 1 you can also tape the piece in place.
While the glue is still wet, check the position and make any adjustments to get the best fit possible, because once the glue dries that baby isn’t going anywhere!
Clean up any excess glue with a damp rag and leave it alone. The glue bottle should have a recommended dry time, and add a little time to that if it is cold or humid where you are.
STEP 4
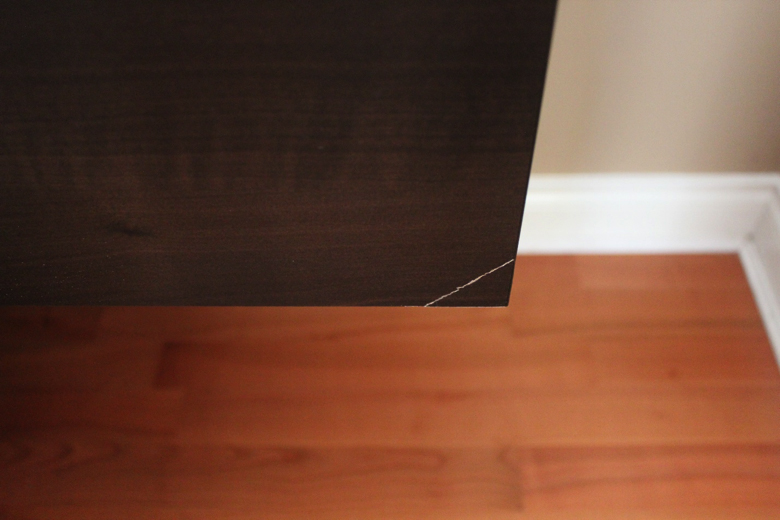
Remove your clamps (or tape) and check it out! 2 pieces became one again ☺ You may have some visible “evidence” of the repair, depending on the color of the veneer and how it was broken off in the first place. Don’t be alarmed! This, like most things, can also be easily repaired
STEP 5
Touch it up.
This is not photoshop my friends!! I simply colored the line with a matching felt pen, and wiped anything “outside the lines” off the surface with my handy damp rag. (I’m sure a little spit on your finger would also work wonders).
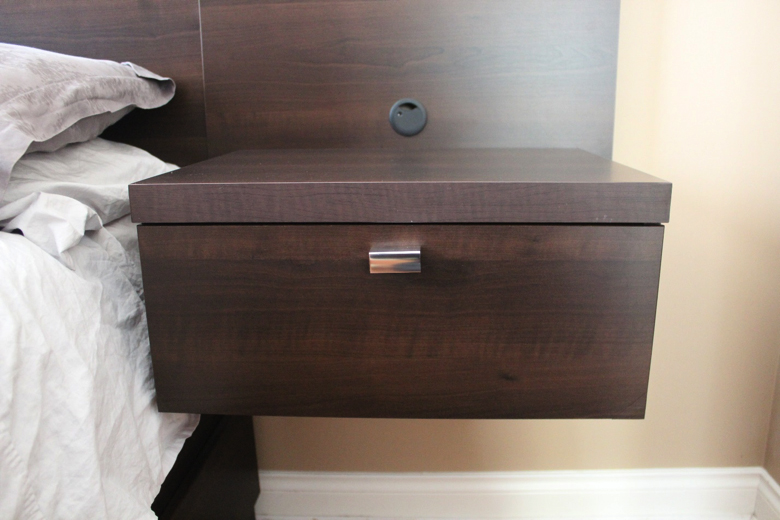
Ta-da! Good as *almost* new!
You can actually fix a LOT of things with the right glue and the same steps.
Simplified, it would look like this:
1. Clean surfaces to be glued and make sure they fit back together well
2. Glue both surfaces together with the appropriate glue (there are a TON of innovative adhesive products readily available; check out your local hardware store. They are often in the paint department… Just read the labels, and if you still aren’t sure which to use for your specific repair, just ask… and if you STILL aren’t sure, see the ninja tip)
3. Join surfaces together and clamp (or wedge, or tape, or weigh down with something heavy… Just make sure to only glue together the area you want repaired, because gluing something you meant to use as a clamp to your piece is counter-productive 😉
4. Wipe off excess glue before it is dry
5. Let the glue cure according to the label directions, unclamp and voila! Fixed!
NINJA TIP: There are almost always phone numbers for a help-line from the manufacturers on the products; they will answer any question you may have and you can GUARANTEE they are experts on the use of that product (as opposed to some random advice from the paint department employee who may have never even used it before…)
So there you have it, one easy way to repair particleboard furniture.
Stay tuned for the coming post which will show you how to repair ugly dents in all kids of wood and wood-like (ie: particleboard!!) surfaces.
Your truly,
Woodshopgirl
Did you Like What you Read?
Sign up for our Newsletter and get Tools, Tricks & Tips to Educate & Inspire you straight to your Inbox!!